Ready…

August 3rd, 2020 § Comments Off on Ready… § permalink

It Boots!

I’m always a little scared of applying power to a device after working on it. After flipping the antique switch, I was greeted by the classic 80’s synthetic voice saying “Ready”. It was glorious.

Fixes

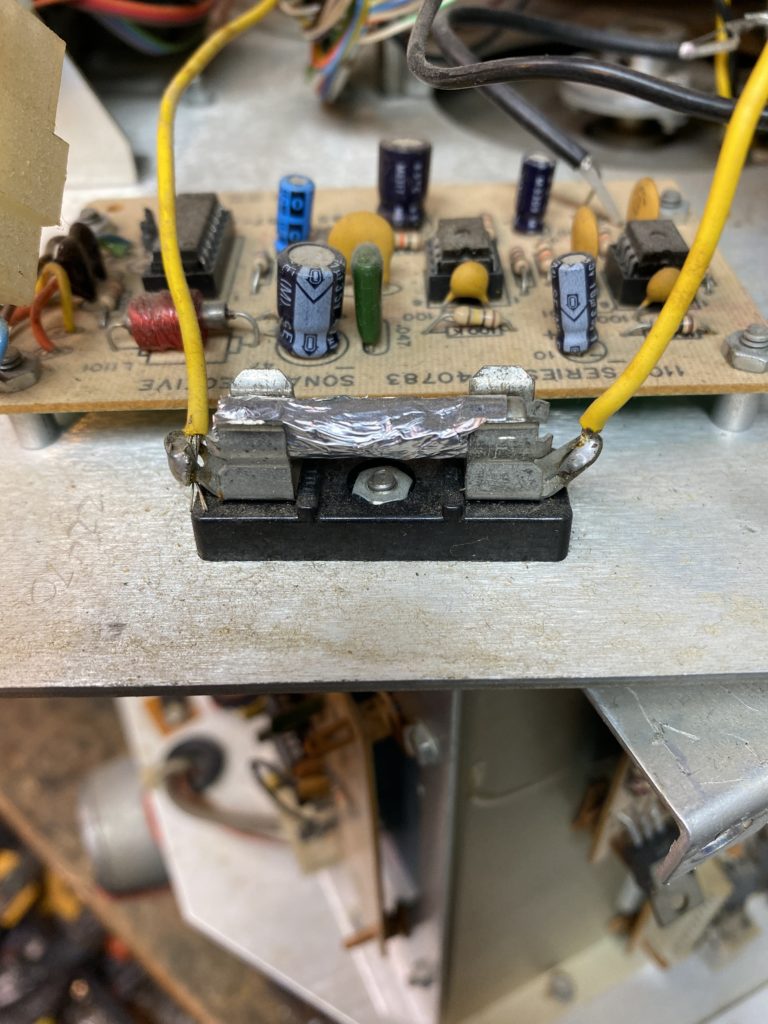
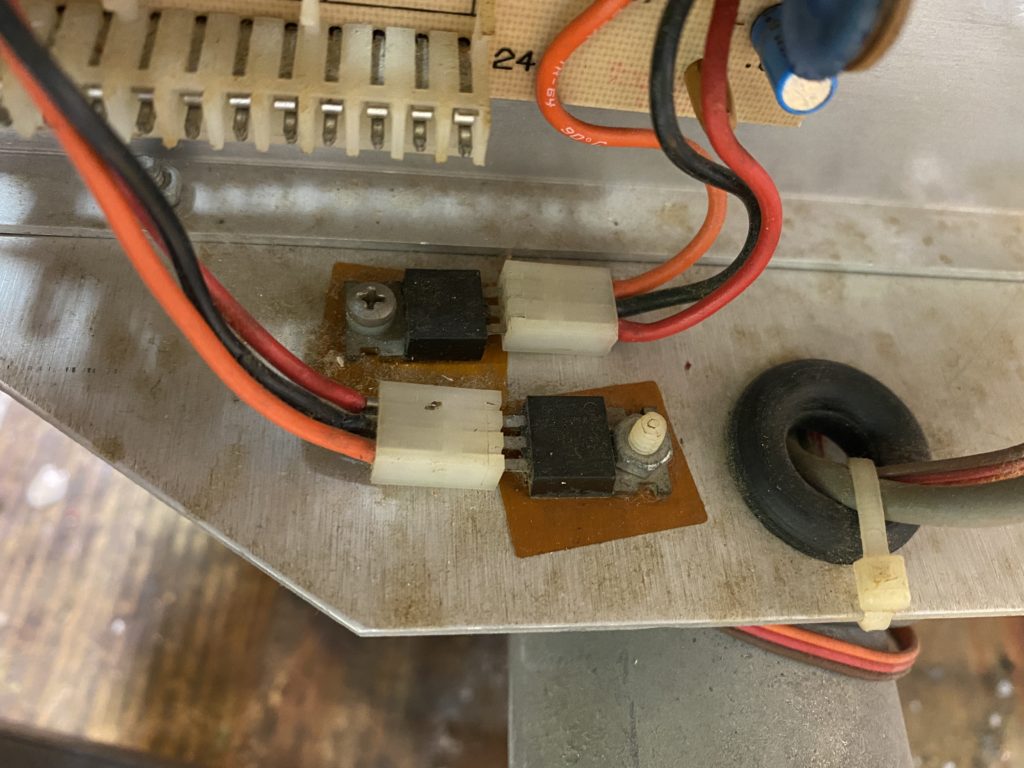
Before powering up the Hero 1, I reviewed the wiring top to bottom. As this was a teaching robot, there were certainly some jenky wiring. Additionally, the fuse blocks were open blocks – seems a bit dangerous to me.

Let’s replace these

I replaced the wiring from the batteries into the power supply, upgrading the fuse block to an Automotive ATM inline fuse blocks.

Much better

Once booted, I was also able to drive it around! (I’ll get video later).

Upgrades!

Now that I have the Hero 1 Robot driving and talking, it’s time to think about upgrades required to interface it with a modern CPU. (I did say I was going to ROS enable it right?)

USB on a 35 year old robot?

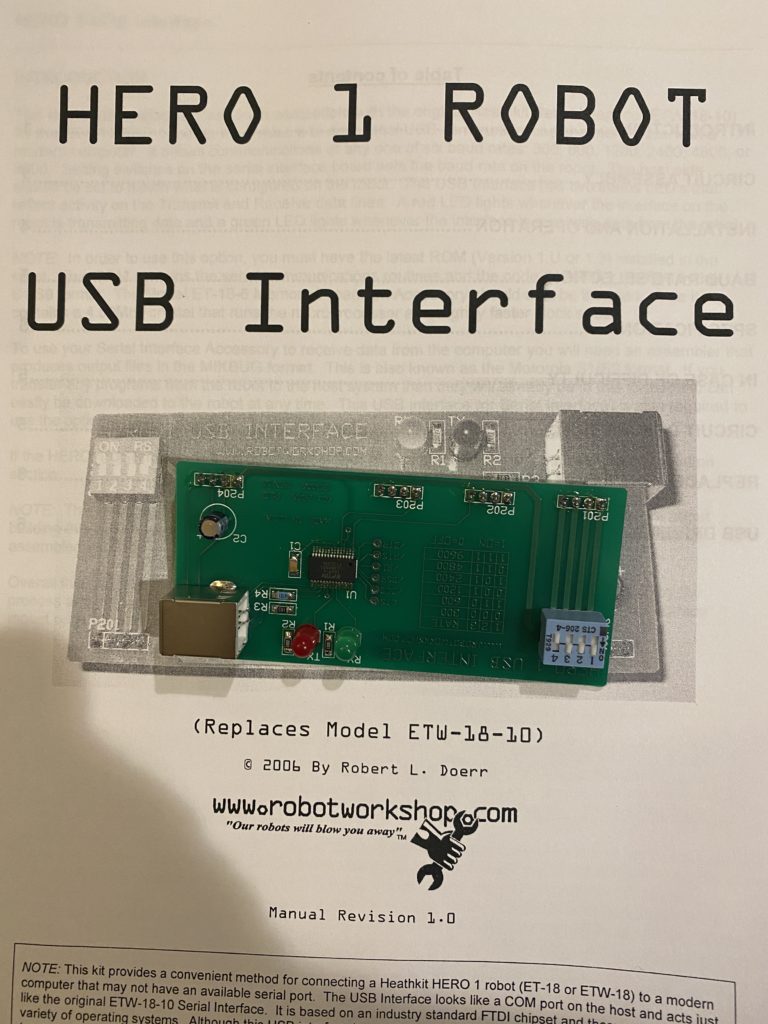
In order to have a modern CPU communicate with the robot, I need a modern serial interface. Turns out the Robot Workshop offers a USB Serial bridge for the Hero 1!

It requires a memory upgrade and a late version ROM, so I picked those up as well.

Memory Upgrade

Retr0bright

The Panels of the Hero 1 suffer from the classic yellowing of old plastic. I’m going to see if Retr0bright will help (or hurt). What’s Retr0bright? It’s a chemical process that was developed (or was it discovered) by the console restoration community. If it works on consoles, it should work on robots… I’ll report back.

35 year old ROS Robot?

July 12th, 2020 § Comments Off on 35 year old ROS Robot? § permalink

Meet Marty. Marty is a HeathKit ET-18 Educational HERO 1. ROS – the Robot Operating System – is an open source “system” for operating Robots. Can I ROS enable a 35 year old Robot?

(Full disclosure – I’m a Development Lead at Microsoft in the Edge Robotics team – working on ROS within the Core Operating Systems group. This project is not endorsed by or funded by Microsoft)

ROS enforces a “separation of concerns” – Sensors, Compute and Actuators are separated from each other using a “pub/sub” messaging model.

The HERO 1 uses a Motorola 6808 Microprocessor with 4kb of RAM. This obviously won’t run ROS or a modern operating system; but is it enough to run the motors and sensors?

Let’s Try it!

But first, I need to get it up and running.

Marty was built in October 1984 – when I was 9 years old. Marty will be cheaper to restore than a Delorean…
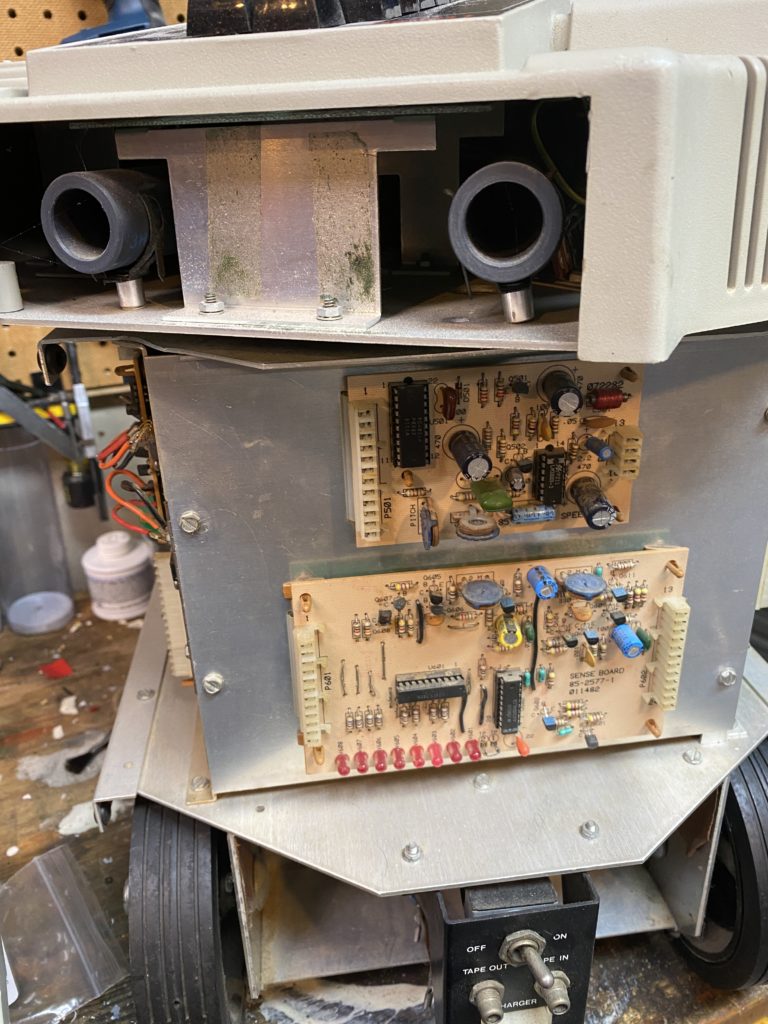
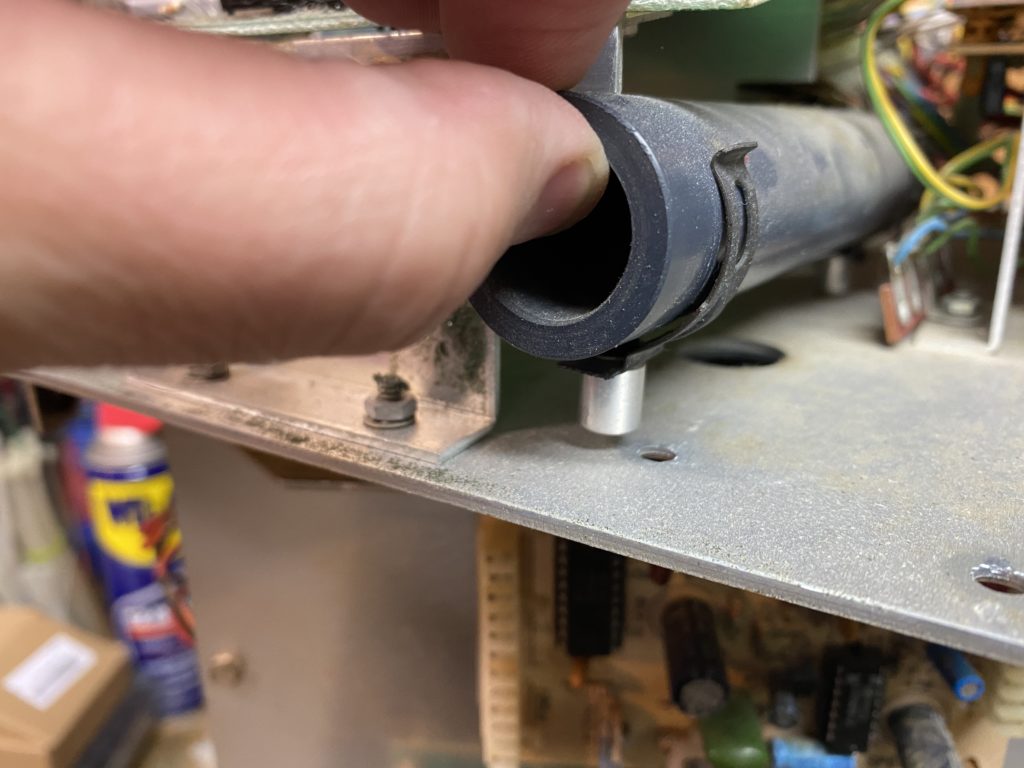
Are those Eyes or Ears?
Something missing…
Check out this wheel encoder!
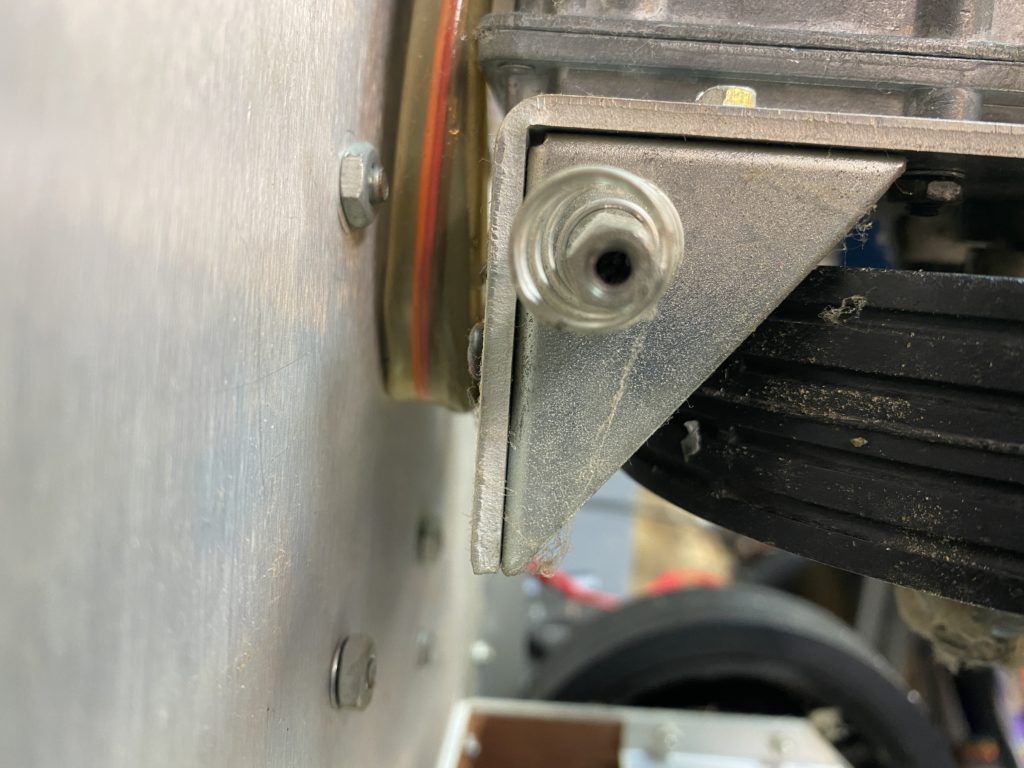
I think this is the end stop
Hmmm… I’m sure that shouldn’t be like this…
Safety Third – That’s some good macgyvering there.
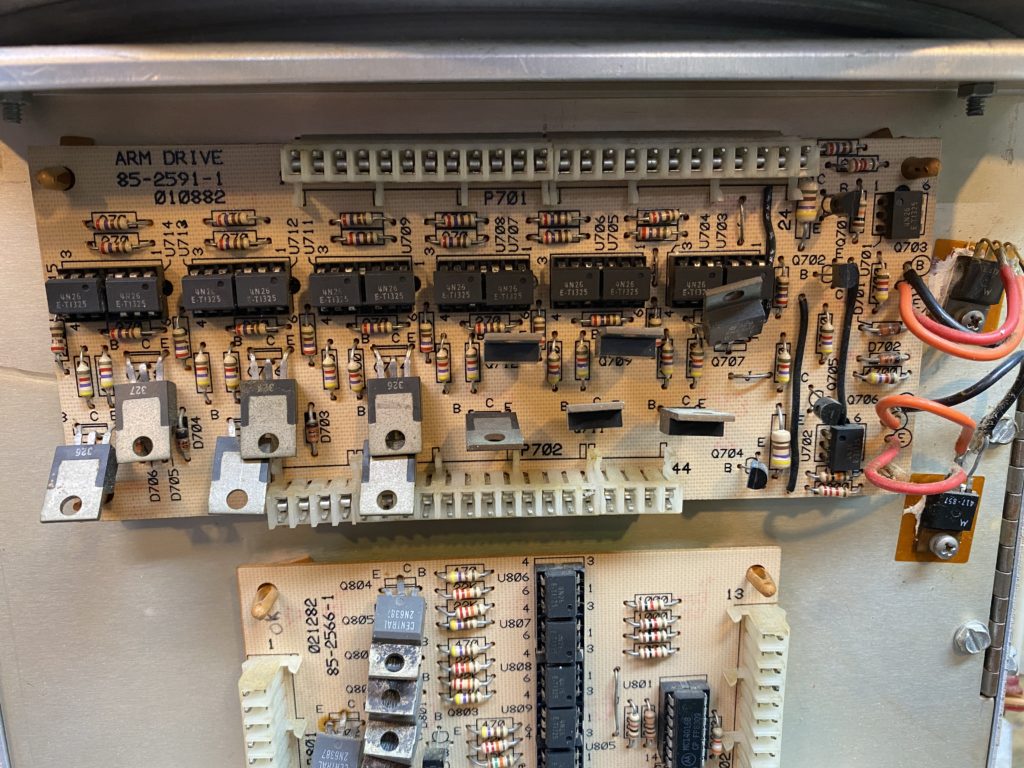
I’m pretty sure they aren’t supposed to be this way…
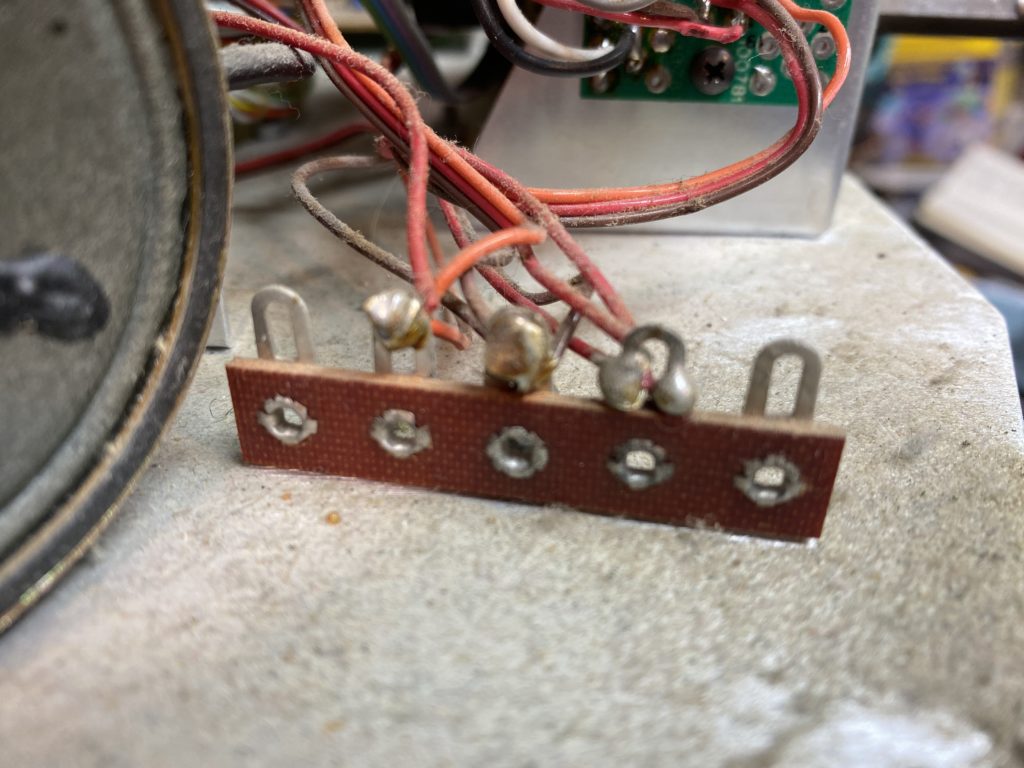
1980s Ground Bar…
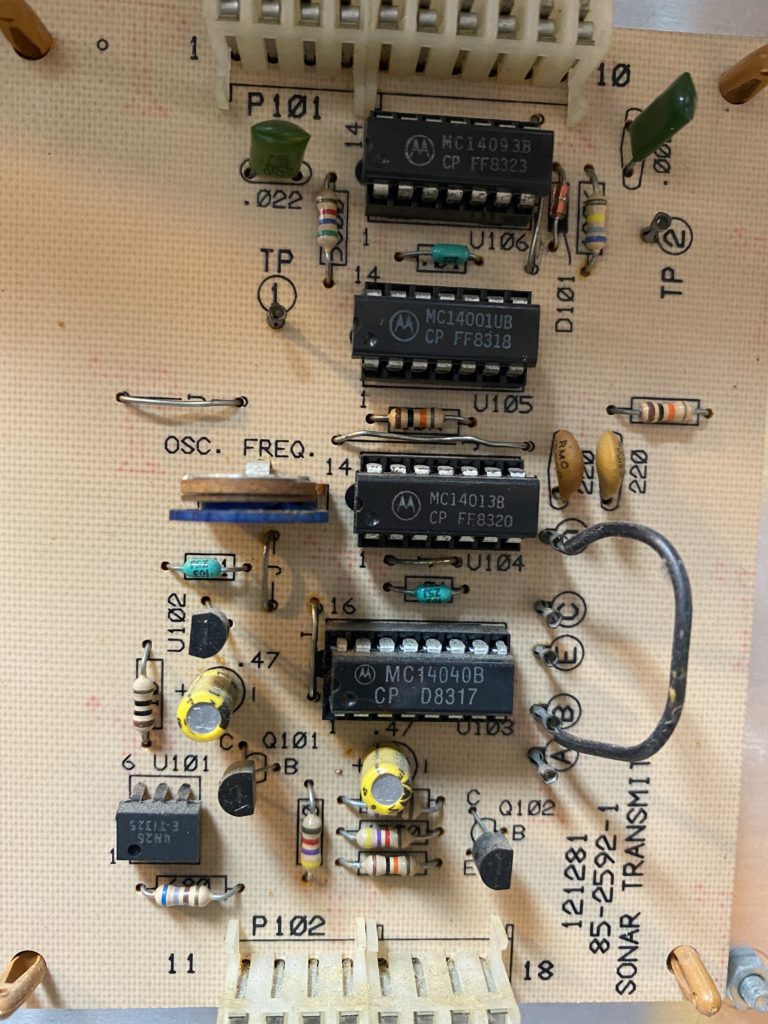
Yes, the wire is jammed into test points to change modes…
This looks aftermarket. Good plan…

For a 35 year old Education robot, I think it is in relatively good shape. I’ve ordered manuals and some upgrades – including a USB interface…

My plan:

  • Clean all the contacts
  • Fixup some of the solder blobs
  • The open fuses scare me. I’m going to replace them with closed fuses…
  • I’ll do subsystem bringup, then work on the Arm…

Until Next time….

HERO 1 & ROS?

July 8th, 2020 § Comments Off on HERO 1 & ROS? § permalink

When I was young – early ’80s – I was in the boy scouts. During one of our events, one of the parents introduced us to a Heathkit Hero 1. It was the first time I realized Robots were real.

I found a complete Hero 1 robot on eBay, and had to have it! It has sat on a a shelf for over a year now. I was recently inspired by a restoration video to fix it up.

Through the grapevine, I was introduced to a Robotics historian, who has a cache of components – and upgrades!

Over the next few weeks, I’m going to be doing a teardown, cleanup and rebuild… I’ll post progress shots. Maybe even do videos…

If you are reading this – cool. It’s been forever since I posted.

I work professionally with the Robot Operating System – ROS…. Once it is up and running – maybe I’ll ROS enable it.

Because.

Makers

April 29th, 2015 § Comments Off on Makers § permalink

For the past year, I’ve been a developer in the Windows Maker team at Microsoft. The Maker team represents Makers within Microsoft; ensuring that Microsoft products have the capabilities that Makers want. We bring Microsoft technologies to the Maker community, through demonstrations – documentation, samples, and projects.

The Windows Developer Program for IoT – a version of Windows 8.1 for the Intel Galileo – was the first big project to come out of Windows specifically for Makers, and was collaboration between the Maker team and the Windows Embedded team.

WindowsOnDevices.com is out launch point for our Maker engagement.

With Windows 10, many of the learnings of the developer program are coming to light. I can’t wait to play – both professionally and personally…

What am I going to build? What are you going to build?

Bioplastic not the ‘greenest’?

December 4th, 2010 § Comments Off on Bioplastic not the ‘greenest’? § permalink

I wrote an article a long time ago where I tried to determine which was better ‘Bioplastic’ or ‘Petroplastic’.

Ecogeek has a post about the same thing – and drew similar conclusions. Worth the read.

almost there…

June 4th, 2009 § Comments Off on almost there… § permalink

img_0141

Fabr v3

May 8th, 2009 § Comments Off on Fabr v3 § permalink

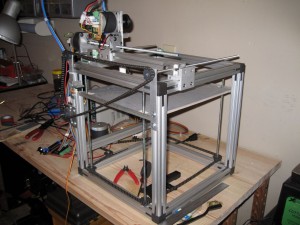
Fabr v2 uses a moving platform for the Z axis. This means it has a maximum volume is quite difficult to change. The platform requires a significant number of moving parts. I had been wondering if I could change fabr so that one axis could be changed out…

For Fabr v3, I wanted to see if I could replace the Y axis with a replaceable platform, driven by an edge motor. With this arrangement, I could replace the platform with any length I needed for the job at hand. I’m not quite sure if this will work, but something I’ve been thinking about.

3d-printer-v3

Super ‘Struder

May 4th, 2009 § Comments Off on Super ‘Struder § permalink

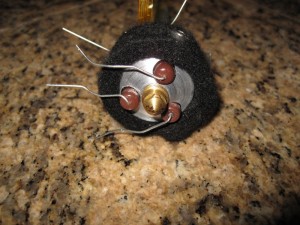
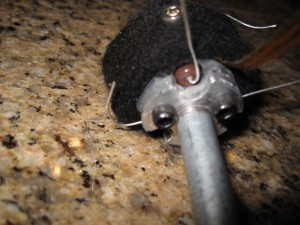
I’ve been having problems keeping the my extruder up to temperature, and eventually, well dissolved my working extruder. So… I’m building a new ‘super extruder’ based on research by nophead’s work.
Super Extruder - business end
Super Extruder - isolation

Fabr motherboard

April 12th, 2009 § 1 comment § permalink

“I love it when a plan comes together”

The Fabr motherboard is complete, and the firmware refactor I’ve been working on is ready for testing.

Here are some glamor shots of the motherboard (which are reprap firmware and connector compatible, just in case).

img_0119

img_0121

Hoping to have this thing up and running for the Robotics meeting this weekend.

Behavior – Device Abstraction

March 28th, 2009 § Comments Off on Behavior – Device Abstraction § permalink

You’ve coded your project with your x-axis step pin on GPIO11. But my device has it on GPIO3. Or even worse, I use a a servo and counter, which doesn’t have a concept of a step. How do we resolve this?

If instead of considering the device itself when coding the logic, what if we were to abstract the meaning of the device from its behavior? That’s the basic idea behind Behavior-Device abstraction.

Navigation sample of the idea

Say I’m building a Unmanned Aerial Vehicle (UAV). I have a navigation behavior which needs realtime orientation data. A typical orientation circuit requires a Gyro and accelerometer for accuracy and drift compensation. If the navigation system had to deal with those calculations, that code becomes unwieldy. However, if it were coded to a single OrientationDevice, then the implementation of that device could be two sub devices – the GyroDevice and AccelerometerDevice, and can build a homogenized notification of orientation changes. What if a manufacturer were to build a single chip that handles both and provides a single interface to it? All one would need to do is replace out the Orientation device without rewriting the Navigation behavior.

The example above described a composition – Each component has a singular responsibility. These are aggregated into a composite or logical device, which then can be actioned upon or notified from independent of the internal implementation.

GCode behavior – Cartesian bot/Extruder

RepRap has 1 main behavior – The GCode interpreter. It receives commands from the host machine, and drives two logical components – the extruder and the Cartesian bot. The Cartesian bot is composed of 3 linear actuators. The Extruder has a temperature sensor, heater and feed device.

The RepRap project uses Stepper motors for linear actuation, with end stops for collision avoidance and homing. It could be implemented using a servo motor or linear stepper driver. Since driving the linear actuator is now abstracted from the behavior, changes to the driving mechanism becomes much less complicated.

In other words, the behavior tells the bot where to go, the bot figures out how to get there, and the linear actuators figure out how to do it.

The Cartesian Bot

class CartesianDevice : public Device, 
                         public Observable,
                         public Observer
 {
     LinearActuator& _x;
     LinearActuator& _y;
     LinearActuator& _z;
     bool _xInMotion;
     bool _yInMotion;
     bool _zInMotion;
public:
     CartesianDevice(LinearActuator& x, LinearActuator& y, LinearActuator& z);

     void moveTo(float newX, float newY, float newZ);
     void moveHome();
     inline bool axesInMotion() { return _xInMotion || _yInMotion || _zInMotion; }
     virtual void notify(uint32_t eventId, void* context);
 };

Linear Actuator

class LinearActuator : public Device, public Observable, public Observer { float _currentPos; float _revPerMM; StepperDevice& _stepper; OpticalInterrupt& _nearInterrupter; OpticalInterrupt& _farInterrupter; public: LinearActuator(float _revPerMM, StepperDevice& stepper, OpticalInterrupt& far, OpticalInterrupt& near); inline float currentPosition() { return _currentPos; } inline void setTempRate(float rate) { _stepper.setTempRate(rate); } void moveTo(float newPosMM); void moveHome(); virtual void notify(uint32_t eventId, void* context); };

Stepper Device

class StepperDevice : public EventLoopTimer, 
                      public Device, 
                      public Observable
{
    int8_t _stepPin;
    int8_t _dirPin;
    bool _forward;
    int _currentTick;
    int _targetTick;
    int _ticksPerRev;
    milliclock_t _maxRate;
public:
    StepperDevice(int8_t stepPin, int8_t dirPin, int ticksPerRev, milliclock_t rate);
    
    void goForward();
    void goBackward();
    void turn(float numberOfRevolutions = 0.0f);
    void start();
    void stop();
    void setTempRate(float rate);
    virtual void fire();
};

OpticalInterrupt

class OpticalInterrupt : public Device, 
                         public Observable, 
                         public PeriodicCallback
{
    int _inputPin;
public:
    OpticalInterrupt(int pin);
    virtual void service();
};